Hanger 9 Funtana X50 Electric Conversion Page 2
By Chris Brew |
 |
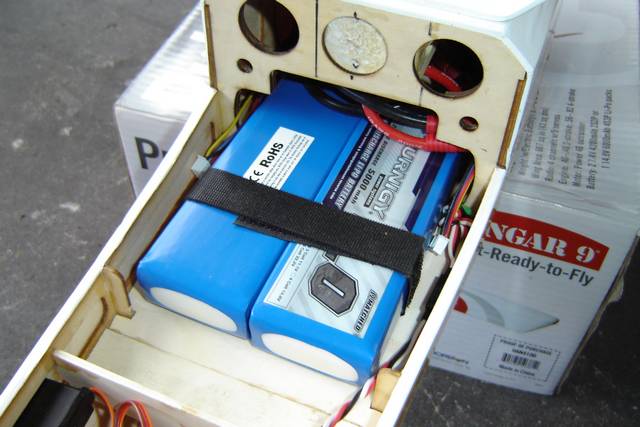
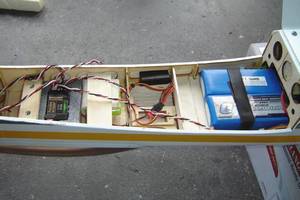
The next step in the conversion was to concentrate
on the installation of the batteries, it soon became apparent
that the planed position would not be far enough forward to
obtain the correct C of G , and the batteries would have to be
positioned further forward in the fuselage. This was accomplished
by removing small web sections of the forward bulkhead either
side of the battery tray, I then extended the tray forward to
the firewall. Strips of Velcro were attached to the battery tray
and in corresponding positions on the batteries to help hold the
batteries in position along with the strap that I had fitted to
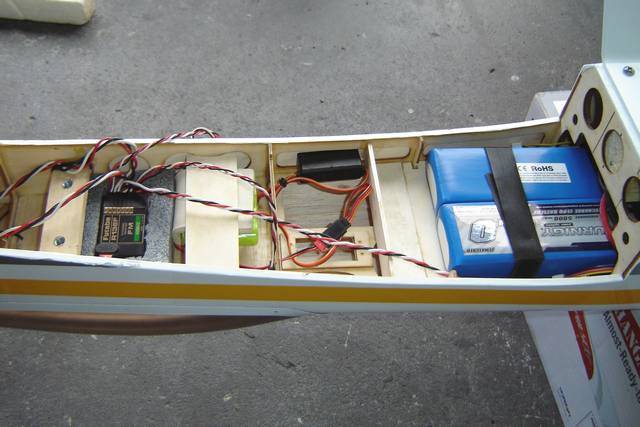
the tray before it was glued into position. I had originally
decided to use a separate 4.8v Rx battery, but as the speed controller
had a built in UBEC I decided to do away with that in the
interest in saving weight.
At this point I roughly assembled the model and checked its C of
G only a small amount of weight would have to be added to the
nose to achieve the desired position.
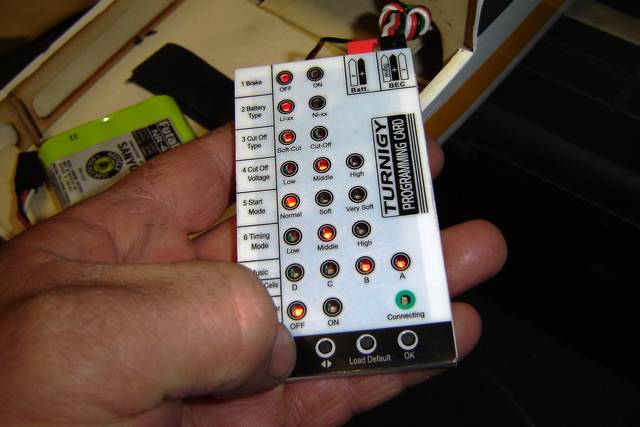
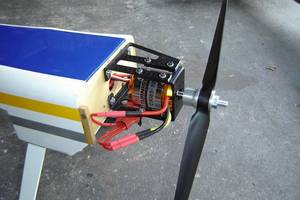
With every thing being connected and the basic installation completed
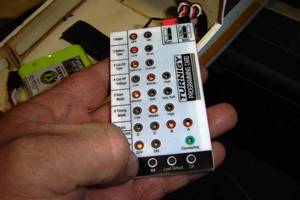
the next step was to program the Speed controller, this was accomplished
with the use of a Turnigy BESC Programming Card. This was
connected up to the Rx wire from the speed controller and a 4.8v
battery is also connected to the card to supply power, the main
power supply to the controller is then connected, for this I just
connected one 3s Lipo. The card makes programming so
simple the card has a list of menus that can be scrolled through
with the press of the up/down button and then the settings can
be changed again with the press of the left/right button the
settings are shown with an eliminated LED. Once the desired
setting are set, press the connect button and the settings are
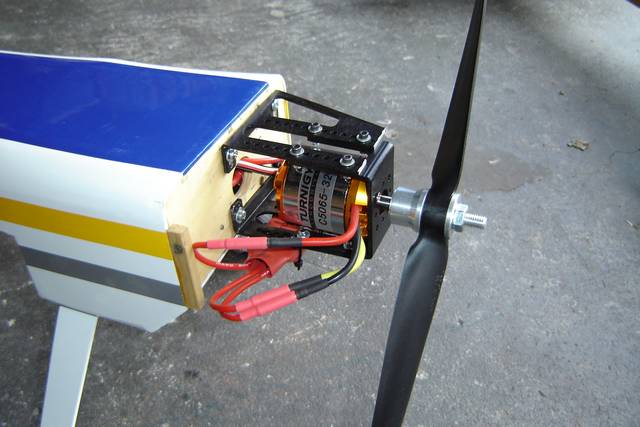
saved. I changed the timing as the default setting is for
2 pole (magnet) motors and mine is a 32 pole. I also choose one
of the 15 tunes that can be played when the batteries are
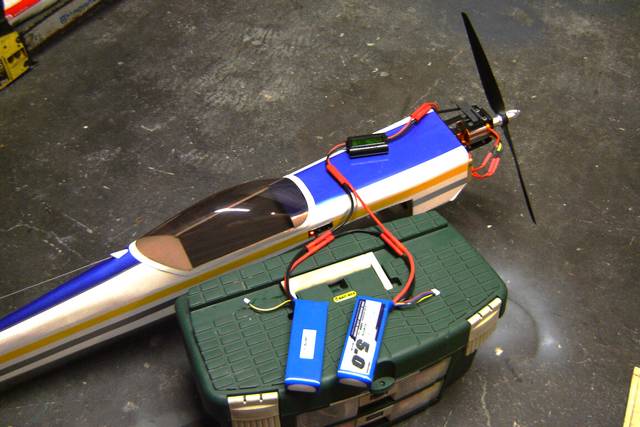
connected and the self test has completed. As I will be running
two 5000mah batteries in series a connecting harness was then
constructed using 10awg silicon wire and 4mm gold bullet
connectors.

With this done next was to hook up the
"Watts Up" meter and check the figures . I came
up with 703w at 32 amps no fear of overloading the speed controller

With everything now completed the next step was to install the cowl do some final checks insuring that
that everything was connected ok and working as it should in preparation
of its first electric flight .

|